In certain circumstances, a wheel hub replacement is essential to ensure the safe running of your vehicle.
Without a secure wheel hub assembly, you may run the risk of losing a wheel when on the road.
Here, we explain what the process of replacing a wheel hub assembly involves.
How to Change a Wheel Hub
Make sure you’re wearing appropriate protective equipment, such as overalls, gloves, steel toe-capped boots and goggles. There may be certain specifications for the model of vehicle you’re working on. Always check the manufacturer’s recommendations.
This is a process in four main stages:
- Removing the wheel from the vehicle
- Disconnecting the old wheel hub from the axle journal /stub axle
- Connecting the new wheel hub to the axle journal / stub axle
- Remounting the wheel on the vehicle.
Next, remove the brake calliper and the mounting bracket. Support it properly to avoid damage. remove. Put the calliper to one side, so that it’s safely out of the way.
You will now need to remove the axle nut on the axle shaft. Do this using an axle nut socket. Loosen the driveshaft nut and remove it. Replace the nut loosely on the end of the released shaft to protect it.
Check the axle journal / stub axle to see if there’s been any damage.
Now clean the parts before installing the new wheel hub assembly. Use a fine brush or emery cloth to remove any debris, nicks or burrs. Inspect the surfaces carefully.
How to Install Your New Wheel Hub Assembly
Keep your new wheel hub assembly in its packaging until you’re ready to connect it to the axle journal / stub axle. This will protect the bearing from dirt.
- Position the hub on the axle journal / stud axle shaft correctly to ensure you don’t damage them when installing the new wheel hub assembly.
- You must never force the hub assembly onto the axle shaft or strike it with a hammer.
- Apply pressure carefully until the wheel hub assembly is sitting correctly on the axle journal / stub axle.
- Next, install the axle nut & washer.
- Install the axle nut and tighten it according to the vehicle manufacturer’s torque settings / instructions.
- Put the brake calliper and bracket back, making sure they’re free of debris and burrs. Apply thread locking compound to the mounting bolts as per the vehicle manufacturer’s specifications.
- Add recommended lubricant to the calliper pins, install them and adjust the torque accordingly.
- Install the dust cover and replace the wheel and tyre assembly. Install and tighten the wheel nuts as per the manufacturer’s instructions. There should be a recommended sequence for this, and there may also be torque requirements. Make sure you follow them.
How Much Does It Cost to Replace a Wheel Bearing and Hub?
This depends on whether you decide to replace the new wheel hub assembly yourself or get someone to do it for you.
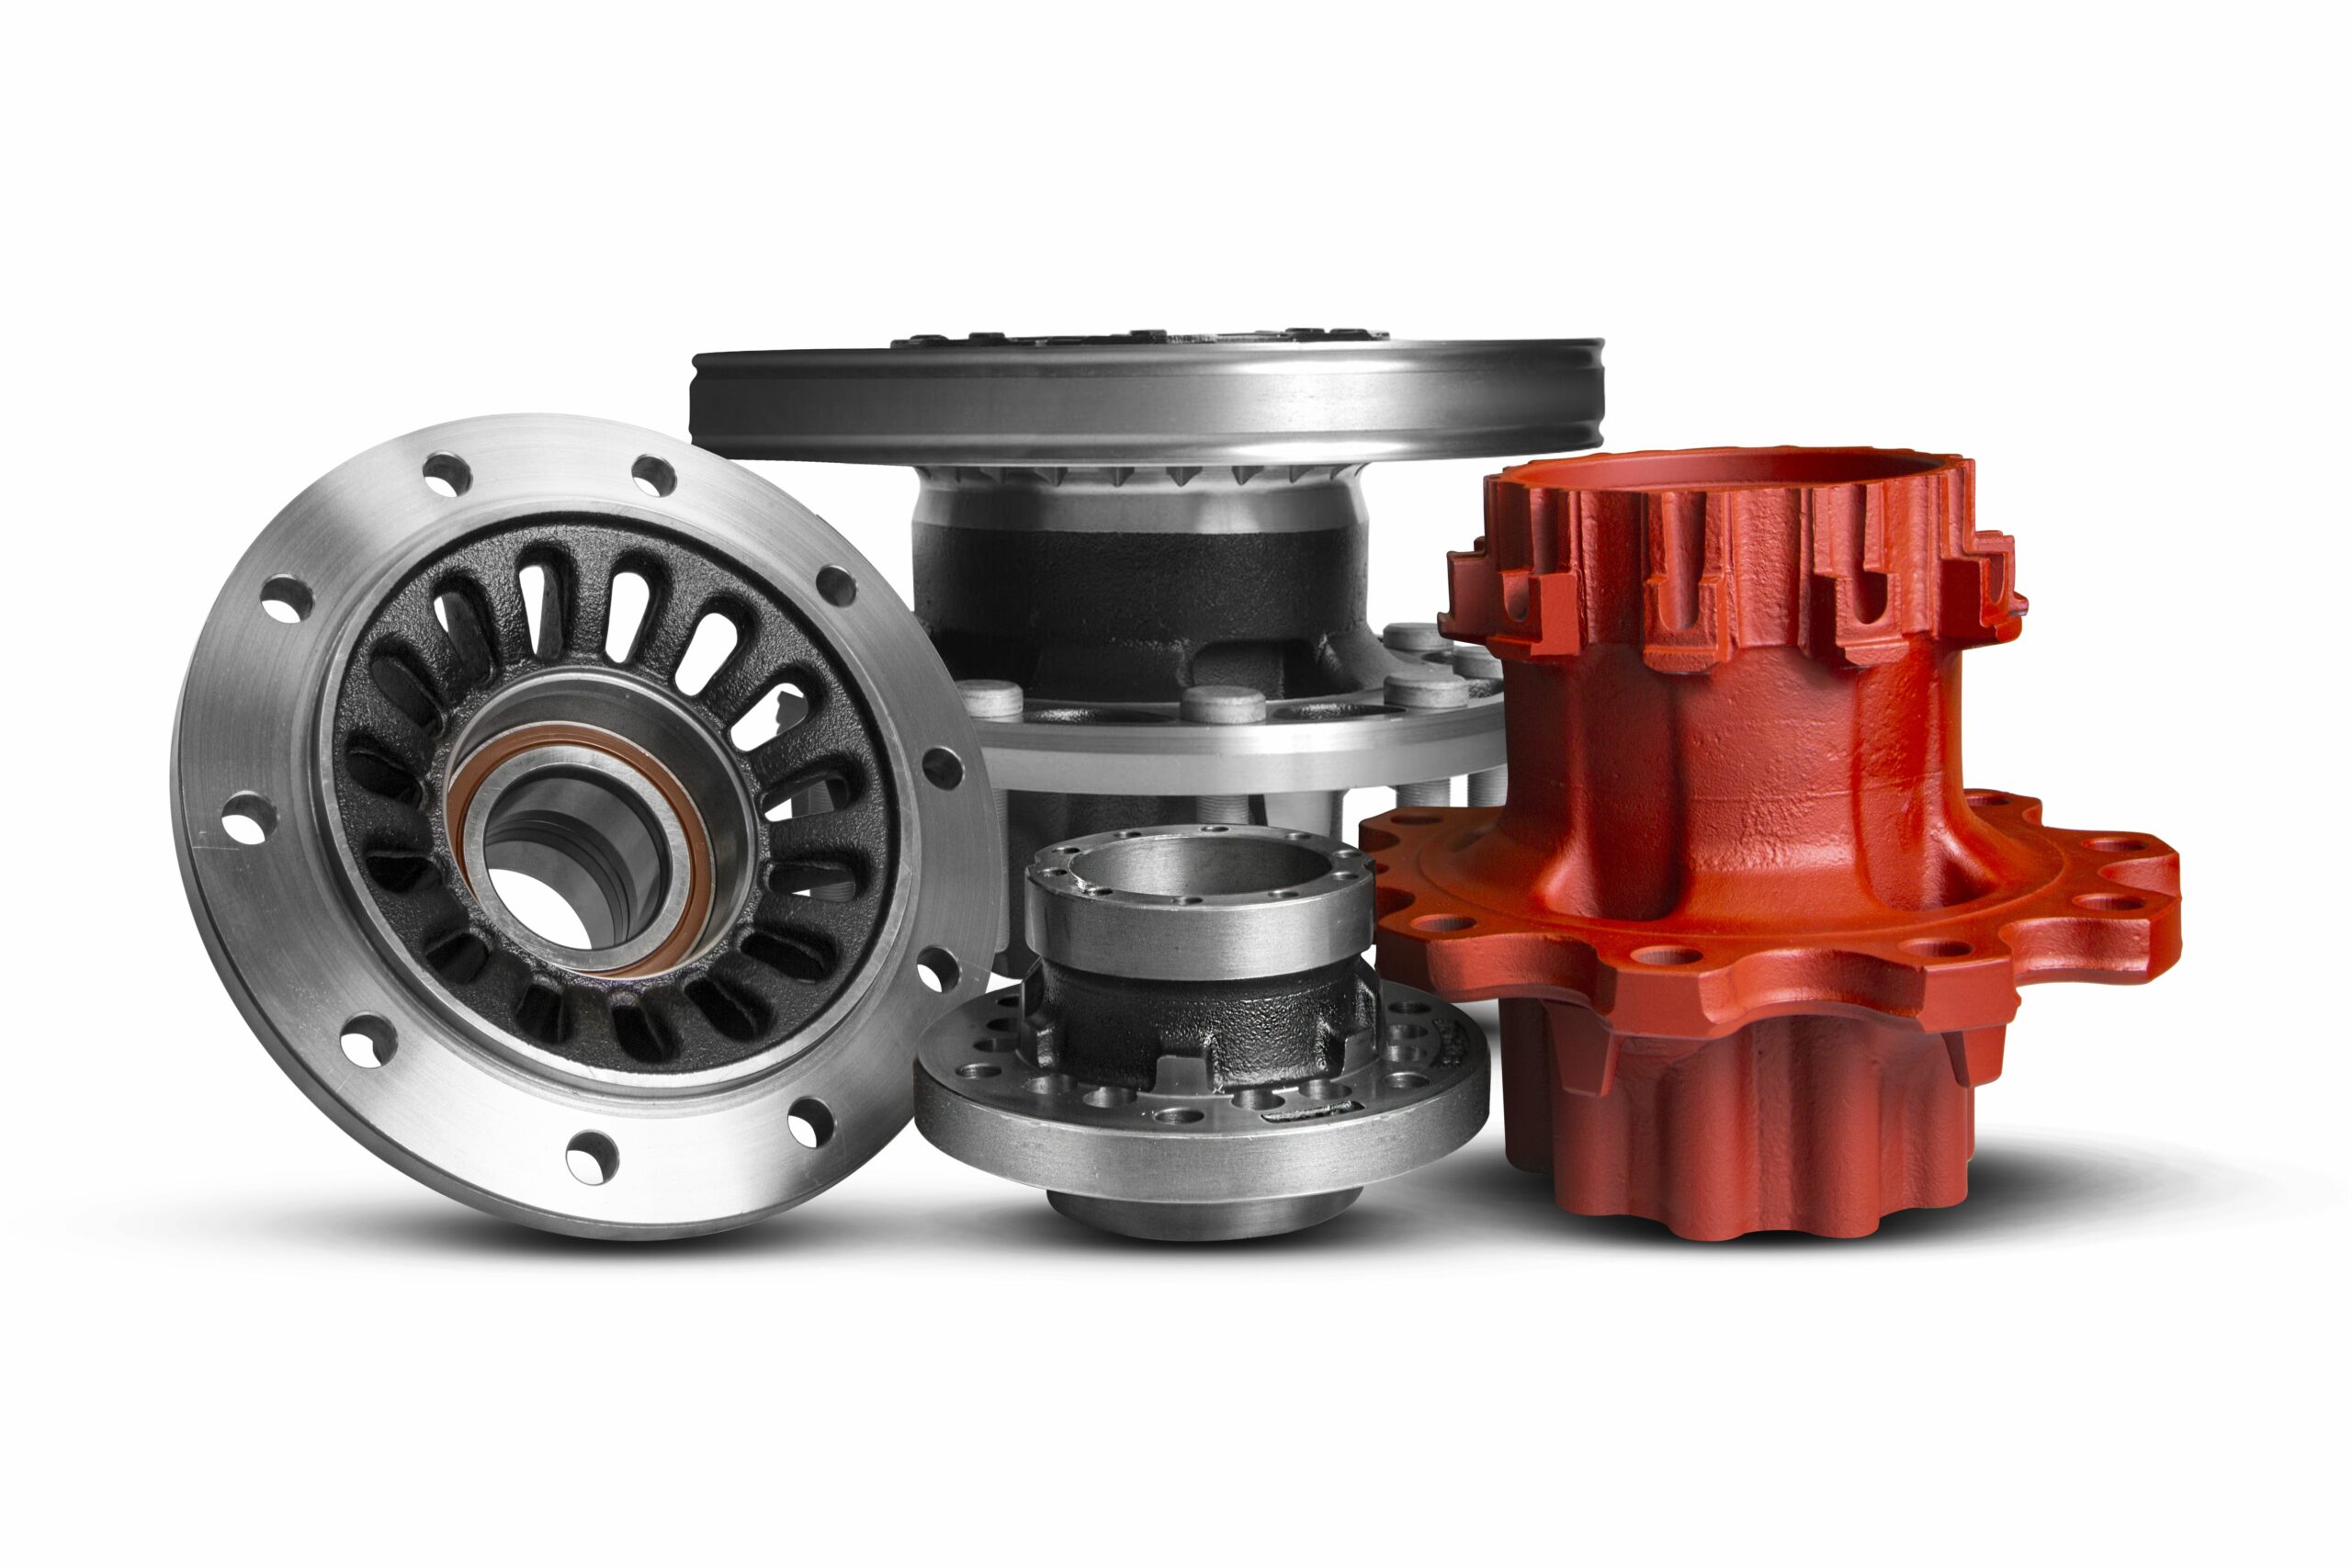
If you are looking to do it yourself, you need to ensure you have the correct and most professional parts available to you.
CV Hubs & Bearings are committed to providing the highest standard of wheel hub parts to the commercial vehicle industry. If you require replacement parts such as wheel hub and wheel bearings then browse our range of products available to purchase directly from our website.
Back to news